Introduction
In my last post [here](https://dev.to/lucascarvalhopl/introducing-wp-setup-11fb), I presented my new WordPress environment tool called **[WP Setup](https://www.npmjs.com/package/wp-setup)**, and at that moment it was missing a test environment.
Today, I finished the first implementation of this environment, adding [Pest](https://pestphp.com/) and [PHPUnit](https://phpunit.de/index.html) in v10.5, which is currently not supported by default with [WP Env](https://developer.wordpress.org/block-editor/reference-guides/packages/packages-env/).
So, let's put our hands a little bit into the code and see how to start doing tests with **WP Setup** and **Pest** in a few steps creating a basic plugin.
The plugin basis
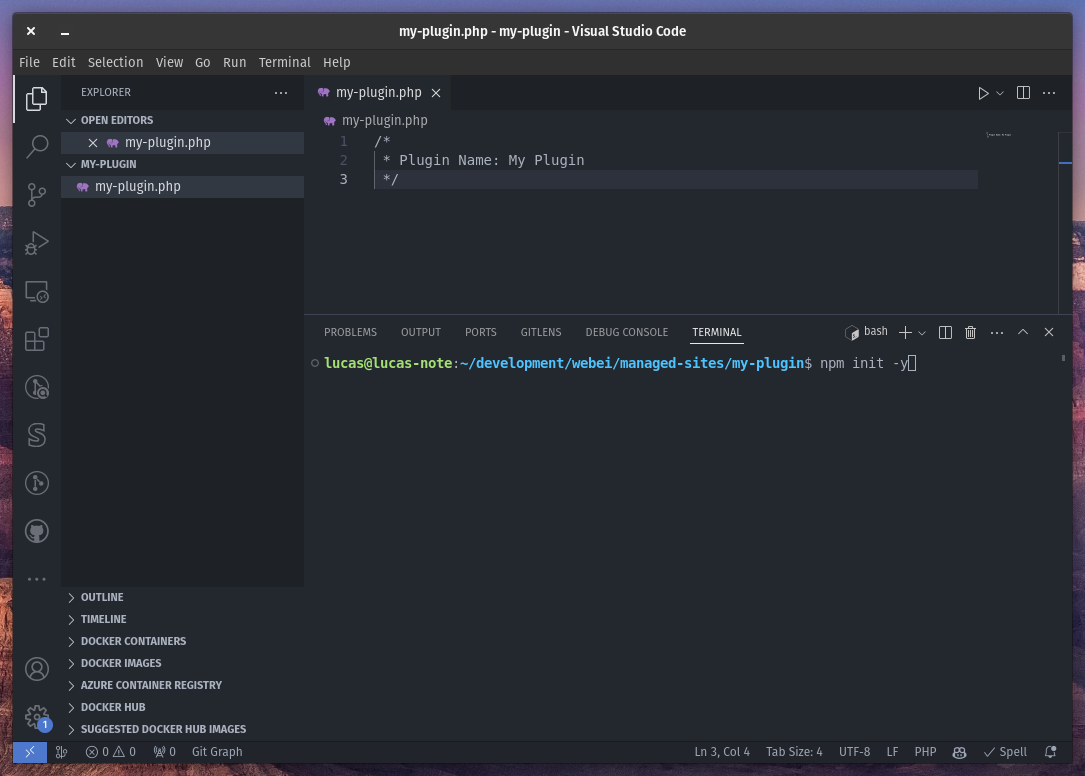
To build this simple example, create a directory called `my-plugin` with just a `my-plugin.php` file containing the [WP header requirements](https://developer.wordpress.org/plugins/plugin-basics/header-requirements/).

Then, start an [npm](https://npmjs.com/) project in this directory by typing `npm init -y` in a terminal.
Now we just need to add WP Setup as a **development package** by typing the following command in the terminal:
npm install wp-setup --save-devAnd in the `scripts` section of the created `package.json` file, add the json bellow:
"scripts": {
    "wp-setup": "wp-setup",
    "env:start": "wp-setup start",
    "env:stop": "wp-setup stop",
    "env:destroy": "wp-setup destroy",
    "env:run": "wp-setup run",
    "env:wp": "wp-setup wp",
    "env:help": "wp-setup help",
    "env:composer": "wp-setup run wp-cli --workdir . composer",
    "env:pest": "wp-setup run wp-test-cli --workdir . global-pest"
}
The init command
In this last update, the `init` command was added, and with this, it's now only two commands to set up the environment.
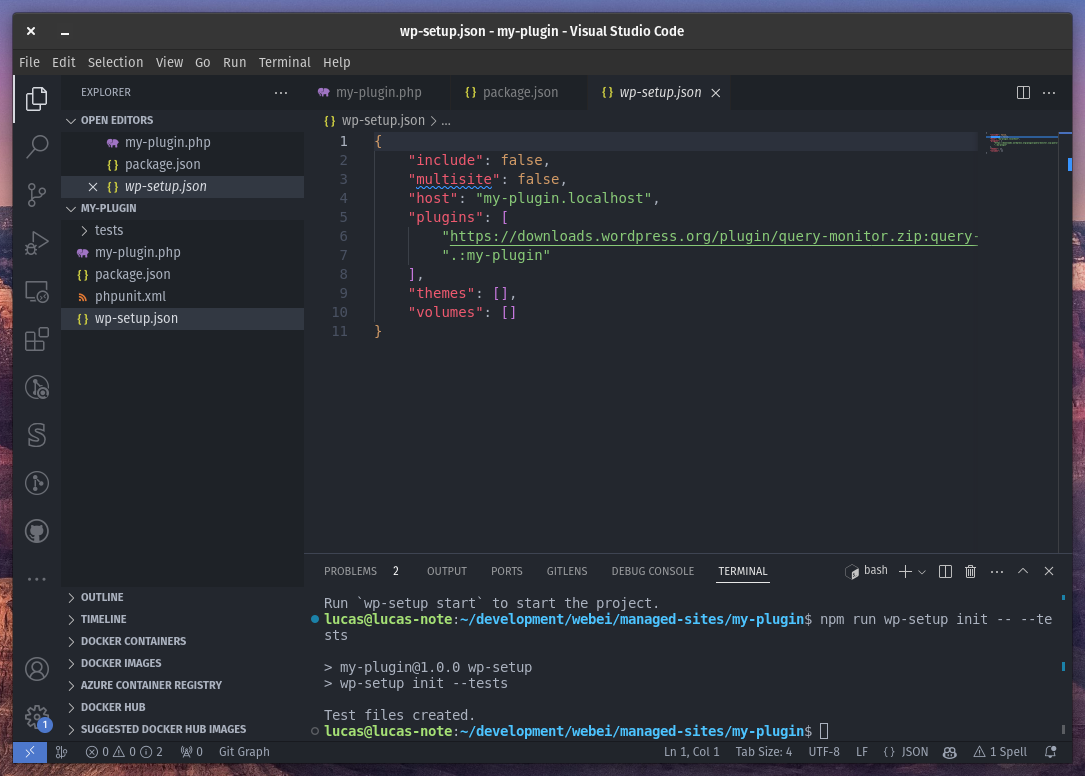
Create the `wp-setup.json` file:
npm run wp-setup initCreate the test configuration:
npm run wp-setup -- --testsAfter this, you will end up with this structure:
Starting the environment
Now, we are fully set up and just need to start the environment.
**Please, be sure to have the ports :80 and :443 available on your machine and [Docker](https://www.docker.com/get-started/) started.**
Run:
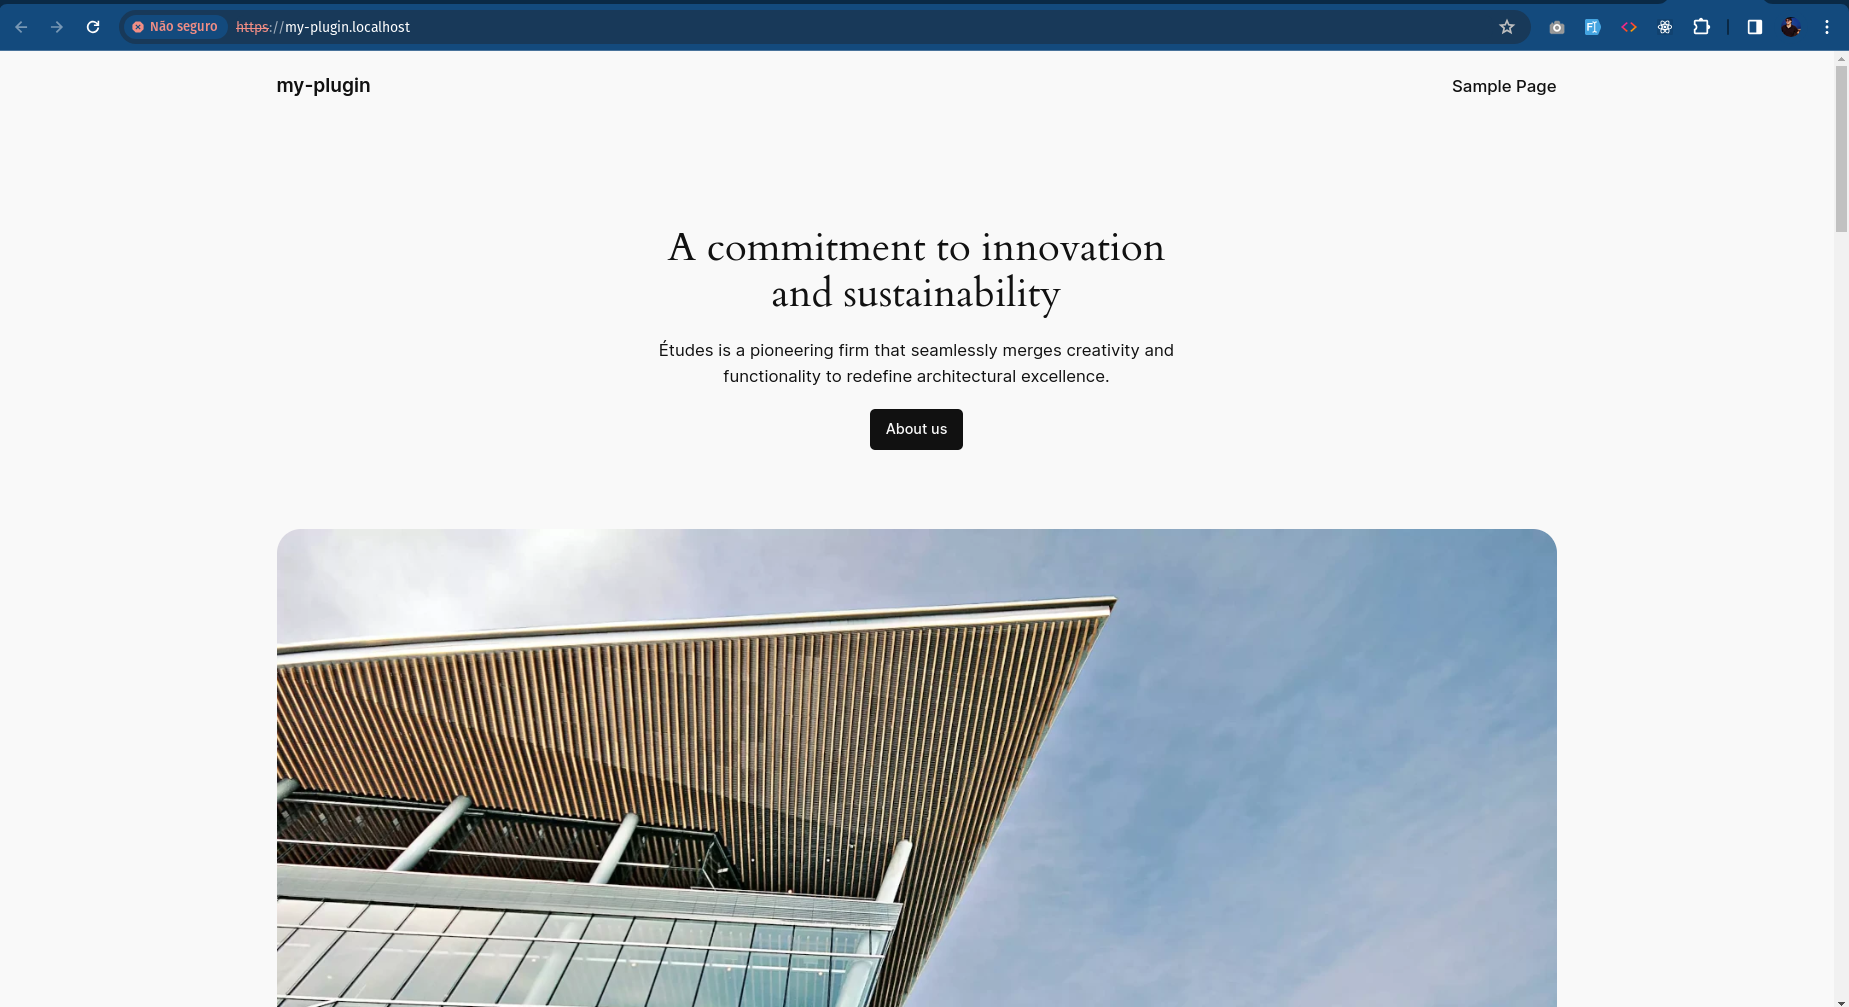
npm run env:startAfter a while, you can visit your environment at `https://my-plugin.localhost`.
Finally running the tests
Now that all is up and running, we can start our tests with Pest by running:
npm run env:pest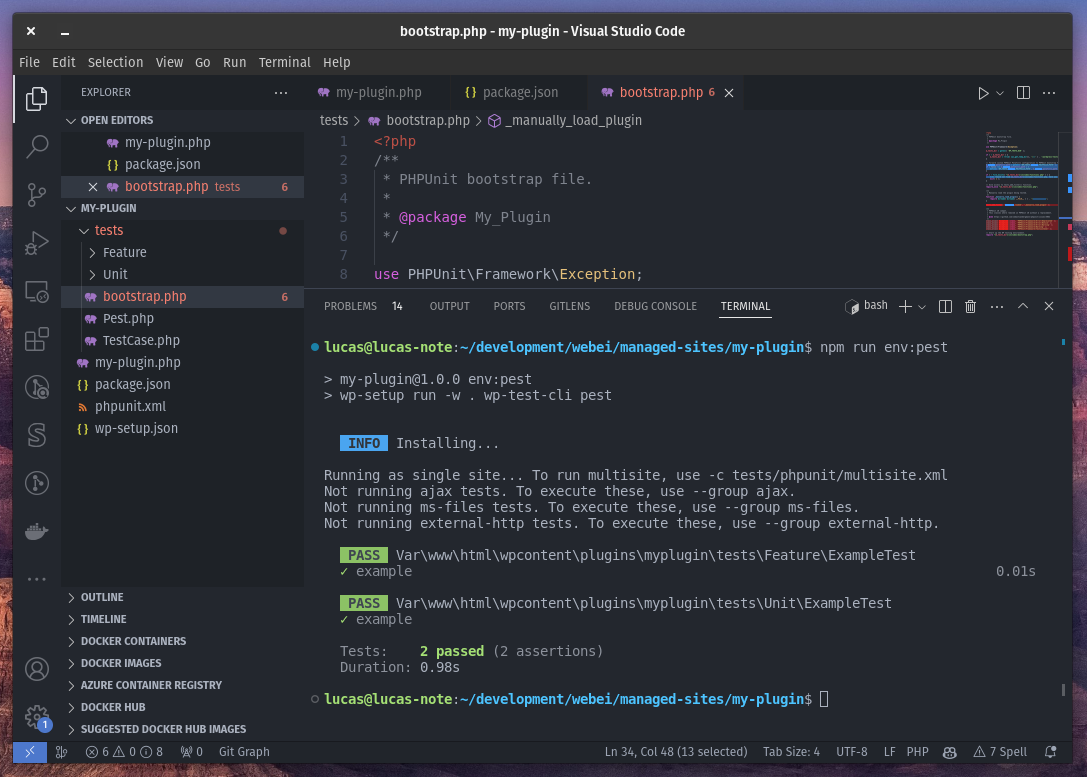
As you can see, the example tests ran as expected, and you can create new tests following the [Pest documentation](https://pestphp.com/docs/) and the [WordPress Tests Handbook](https://make.wordpress.org/core/handbook/testing/automated-testing/writing-phpunit-tests/).
Stopping the environment
Now that we've finished our work here, we can stop our environment, removing the existing Docker containers and freeing the used ports. The images and development volumes will persist on your machine, making it fast to start again.
npm run env:stopAlso, if you prefer, you can destroy the entire environment by running:
npm run env:destroyConclusion
I hope this simple tutorial helps you effectively utilize **WP Setup** with Pest for your WordPress development projects.
If you have any questions or need further assistance, please feel free to comment out here. Happy coding!!!
LC
About the Author
Lucas Carvalho is a full-stack developer from Sao Paulo, Brazil, with 9+ years of experience focused on software architecture, web applications, APIs, integrations, and developer tooling.
Recent Posts
XDebug with WP Setup
WP Setup v1.1.0 introduces XDebug support for easy test coverage reports, CLI command debugging, and HTTP execution. Enhance your WordPress development now!
The PHP Orkestra Framework
Discover Orkestra, a lightweight, extensible PHP framework, designed to provide a flexible foundation for web development. Perfect for tailored, efficient projects.
Introducing WP Setup
Discover WP Setup, a powerful and flexible Docker-based tool for creating customizable WordPress development environments. Simplify your workflow today!