Introduction
WP Setup has been updated to version 1.1.0, introducing [Xdebug](https://xdebug.org/) support and allowing for easy generation of test coverage reports.
Additionally, some small fixes and improvements were made, such as using the [adm-zip](https://www.npmjs.com/package/adm-zip) library instead of [unzipper](https://www.npmjs.com/package/unzipper), providing a simpler and reliable extractor that avoids uncompress errors as with [Query Monitor](https://br.wordpress.org/plugins/query-monitor/) (that we add by default in wp-setup.json during the initialization process) that in some cases did not complete the unzip process correctly, causing errors during WordPress loading.
Running XDebug
Now we can simple start the containers with XDebug running by adding a `--xdebug` flag in the start command. This will restart all server and CLI containers with the xdebug up and running.
You can use the recommended scripts in wp-setup [readme](https://www.npmjs.com/package/wp-setup) to easily start with the command `npm run env:start:xdebug`.
With this, you can use XDebug in all environments, enabling debugging of CLI commands, tests (facilitating a better TDD approach in development), and normal HTTP executions through the server.
To only stop the XDebug when not needed, you can run the stop command with the flag `--xdebug` or with our package scripts run `npm run env:stop:xdebug`.
Mapping directories
As we are running inside docker containers, we need to map our local directories with the container ones so we can fully use the debugger with our IDE.
In [VSCode](https://code.visualstudio.com/) for example this can be easily done by adding the following `.vscode/launch.json` file:
{
    "version": "0.2.0",
    "configurations": [
        {
            "name": "Listen for XDebug",
            "type": "php",
            "request": "launch",
            "port": 9003,
            "pathMappings": {
                "/var/www/html/wp-content/plugins/my-plugin": "${workspaceFolder}/plugins/my-plugin",
            }
        }
    ]
}
**Replace the pathMappings with your project directories accordingly**
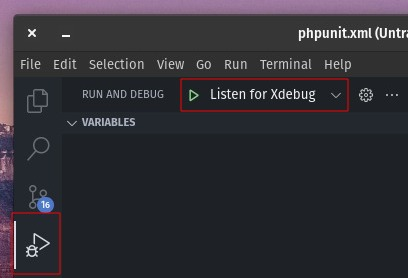
With this we can go to VSCode debug tab and click in "Listen for XDebug".

Tests coverage repport
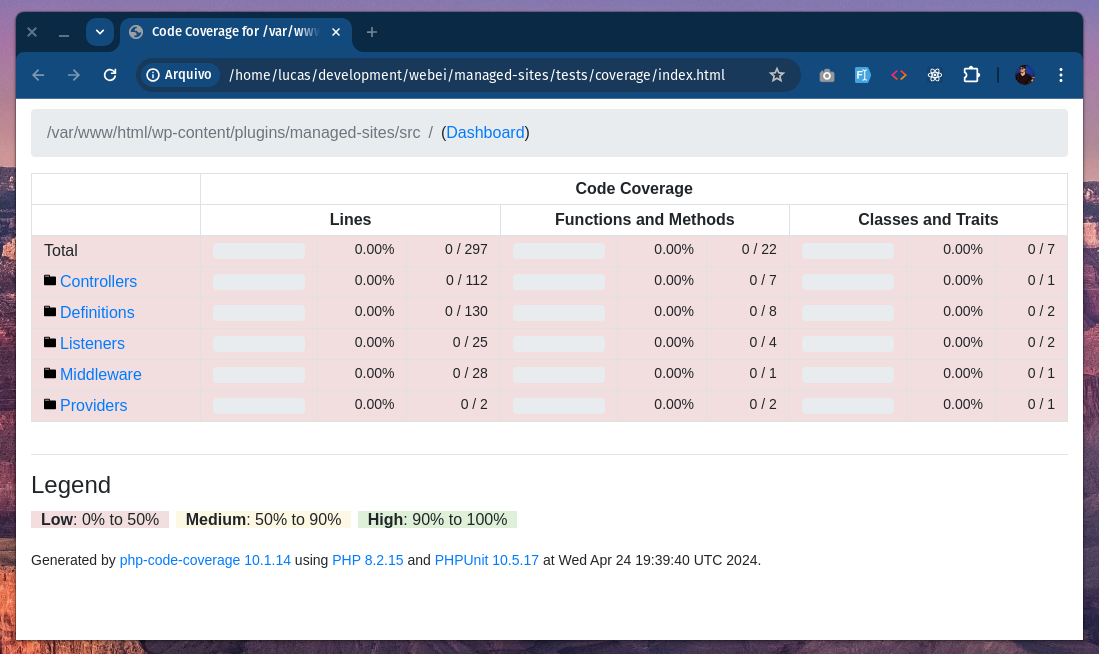
An important aspect of any development project is to measure how much of our code is tested. This allows us to gauge the reliability of our codebase before sending it to production.
The CLI test container now starts with XDebug in "coverage" mode by default, enabling the generation of this report.
You can simply run [pest coverage commands](https://pestphp.com/docs/cli-api-reference#content-code-coverage) in your code as:
npm run wp-setup -- run -w . wp-test-cli global-pest --coverage-html ./tests/coverageThe command above is the same added in our recommended scripts as `env:pest:coverage` and will generate an HTML report in the ./test/coverage directory.
A small caveat
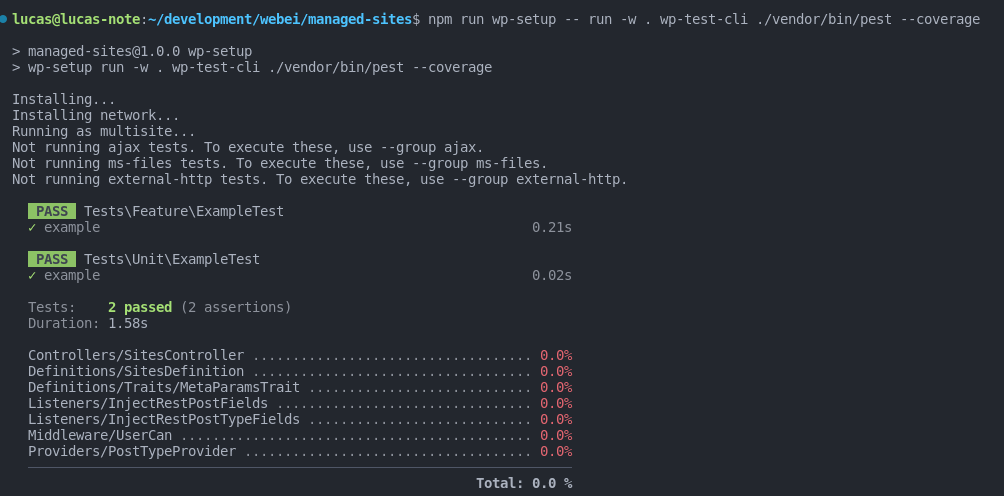
Currently, it is not possible to run `--coverage` directly with our `global-pest` command, to use the cli coverage (very usefull to enforce a [minimal test coverage](https://pestphp.com/docs/test-coverage#content-minimum-threshold-enforcement) in CI processes) you need to require pest and `yoast/phpunit-polyfills` locally in your project.
composer require --dev pestphp/pest yoast/phpunit-polyfillsthen you can run your tests with your locally installed pest with:
npm run wp-setup -- run -w . wp-test-cli ./vendor/bin/pestThis will give you full pest CLI access and allow the use of `--coverage` flag.
Conclusion
This latest update, introduces important enhancements, which are designed to streamline and enhance your WordPress development experience. While the new features enhance the local development process by introducing powerful debugging and testing capabilities, it is important to note that the WP Setup is not yet fully optimized for running CI processes directly. However, the groundwork has been laid, paving the way for future enhancements that will support more robust CI integrations.
As the sole developer behind WP Setup, I invite other developers to explore the potential of this tool. Your feedback and contributions are invaluable to not only improve its existing features but also to help in expanding its capabilities. The project is open for contributions on [GitHub](https://github.com/Luc-cpl/wp-setup), and I am eager to collaborate with other developers to make WP Setup even more powerful and versatile.
Please take this opportunity to test [WP Setup](https://www.npmjs.com/package/wp-setup). Together, we can work towards making a comprehensive development tool that better serves the WordPress community.
LC
About the Author
Lucas Carvalho is a full-stack developer from Sao Paulo, Brazil, with 9+ years of experience focused on software architecture, web applications, APIs, integrations, and developer tooling.
Recent Posts
The PHP Orkestra Framework
Discover Orkestra, a lightweight, extensible PHP framework, designed to provide a flexible foundation for web development. Perfect for tailored, efficient projects.
WordPress tests with Pest and WP Setup
Set up a WordPress test environment using WP Setup with Pest. Follow our simple steps to create and test a basic plugin effortlessly. Happy coding!
Introducing WP Setup
Discover WP Setup, a powerful and flexible Docker-based tool for creating customizable WordPress development environments. Simplify your workflow today!